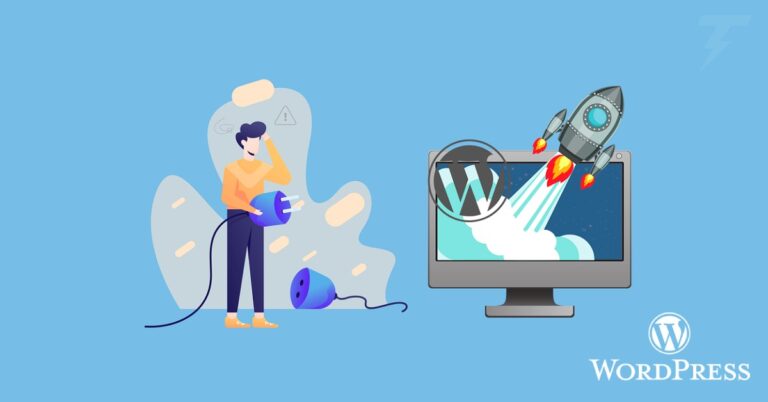
Are you ready to take full control of your WordPress installation? Installing WordPress manually via cPanel offers you a deeper understanding of your website’s inner workings and allows for greater customization. In this step-by-step guide, we’ll walk you through the process of installing WordPress manually using cPanel. Let’s get started.
Why Install WordPress Manually?
Before we dive into the installation process, let’s briefly discuss why manual installation is beneficial:
01. Full Control:
Manual installation gives you complete control over your WordPress setup, including database configurations and file management.
02. Deeper Understanding:
It provides a valuable learning experience, helping you understand the core structure of WordPress.
03. Customization:
Manual installation allows for custom database prefixes, enhancing security.
Prerequisites
Before we begin, ensure you have the following:
- cPanel Access: You need access to your hosting provider’s cPanel.
- Database Details: Create a MySQL database and user with full privileges via cPanel.
- WordPress Files: Download the latest version of WordPress from WordPress.org.
Step 01: Upload WordPress Files
- Access cPanel and navigate to the File Manager.
- In the File Manager, locate the public_html directory (or your desired installation directory).
- Upload the WordPress.zip file you downloaded earlier.
- Extract the contents of the WordPress.zip file within the directory.
Step 02: Create a Database
Return to cPanel’s main dashboard.
Find the Databases section and click on MySQL Databases.
Create a new database, and take note of the database name.
Create a new database user and assign them to the database, noting the username and password.
Grant the user full privileges to the database.
Step 03: Configure WordPress
In your web browser, navigate to your website’s domain name.
You’ll see the WordPress setup wizard. Choose your preferred language and click Continue.
Enter your database details (database name, username, password, and host) as provided earlier.
Click Submit and then Run the Installation.
Provide your site’s information, including title, username, password, and email.
Click Install WordPress.
Step 04: Accessing Your Dashboard
Congratulations! You’ve successfully installed WordPress manually using cPanel. You can now access your website’s admin dashboard by navigating to yourwebsite.com/wp-admin.
Manual installation might seem daunting at first, but it empowers you with a deeper understanding of WordPress. You’re now in complete control of your website’s destiny. Enjoy the journey!
Remember, always keep your WordPress installation, themes, and plugins updated to ensure the security and functionality of your website.
Thanks for reading!